A First Web Page
We have in fact already created a web page, but it wasn't particularly useful or interesting. We can use it, however, to create something a little more meaningful. You should have saved this your first effort as a file called template.html in a folder called htdocs. If not, follow the instruction in the page "Working With HTML" in this section to create the file (and if necessary, the folder).
We are going to create a simple online CV (curriculum vitae). You can either replace the details given in the example HTML code presented here with your own details or use your imagination to create a CV for a fictional person. Open the template.html file you created earlier and save it with the name cv.html. Replace the text in the <title> ... </title> tag with "Curriculum Vitae" and delete the HTML code currently inside the <body> ... </body> tag.
The remainder of this article will tell you how to add the necessary HTML code to create a reasonably presentable online CV. Before we go any further, however, you may wish to have a look at what the UK government's National Careers Service has to say about what should (and what should not) be included in a curriculum vitae. We will (up to a point!) use these guidelines to create a professional-looking online CV.
The following list gives a breakdown of the main headings under which the information you provide should appear:
- Personal details
- A personal profile
- Employment history / work experience
- Education and training
- Interests and achievements
- Additional information
- References
We will start with personal details. Here is what the National Careers Service has to say:
"Include your name, address and contact details. You don't need to include your age, marital status or nationality. Recruiters can make a decision about your skills and abilities without this information . . . Make sure your email address sounds professional."
We are going to add the following code to the HTML document, immediately following the opening <body> tag:
<section style="text-align: center;">
<h1>Chris Wells</h1>
<p>
24 Sycamore Road, Plymouth PL1 2QA<br>
Tel: 0123 456789<br>
Mob: 0765 876543<br>
Email: cwells@technologyuk.net
</p>
</section>
Note that we have used the <section> ... </section> tag here to enclose the HTML code that defines our personal details. This does not, on its own, change the format of the section's contents. It does however allow us to apply a style to the sections content using the style attribute – one of the HTML global attributes (so-called because they can be applied to any HTML element).
By default, the <section> element, which is new in HTML5, extends for the full width of the browser window. This allows us to centre the contents of the section using the style attribute as shown here:
style="text-align: center;"
We will be using inline styles extensively throughout this section. Defining styles inline is not the most efficient way of applying styling to our HTML content, particularly if we will be using the same styles for multiple HTML documents. We will be exploring more efficient ways in which to apply styling in the section "Using Stylesheets".
The name of the person whose CV this is displayed as a level 1 heading. It is, after all, a very important piece of information. The contact information is displayed using a paragraph tag (<p>). The use of the break tag (<br>) ensures that each item of information is displayed on a separate line.
The illustration below shows how our HTML document will look in a web browser:
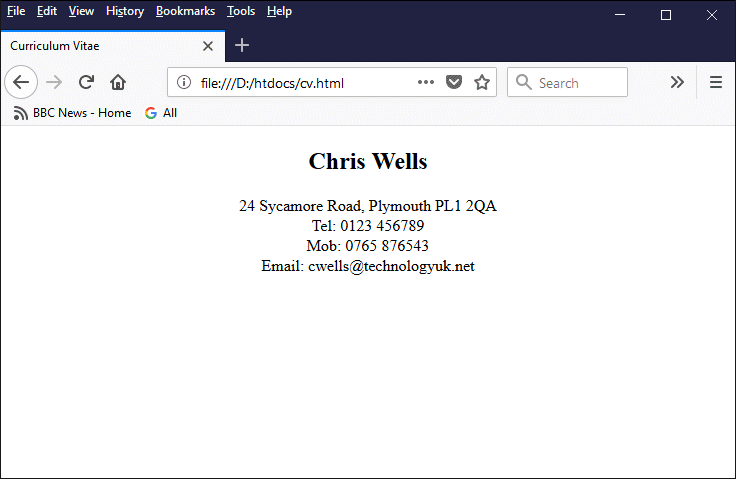
The first section of our HTML document
So far so good. Now we'll add the personal profile. According to the National Careers Service, your personal profile should summarise your skills and qualities, your work background and achievements, and your career aims - all in no more than a few lines! Here is the code we will use:
<hr>
<section>
<h2>Personal Profile Statement</h2>
<p>
My career in teaching has spanned a range of subjects related to information technology. My skills include computer programming, website development, the creation of virtual learning environments, and the development of multimedia course materials. Having retired from teaching, I now devote most of my free time to developing online resources which I believe will be of value to both students and teachers.
</p>
</section>
We have used just two new elements here. The first is the hard return element (<hr>), which draws a line across the page that serves to separate the first section of our CV from the second section.
The second new element is the level 2 heading (<h2>). The different heading levels are used to indicate the relative importance of the content they appear above, with level 1 being the most important and level 6 being the least important (it is usually only necessary to use the first two or three levels in a document). As a rule, there should only be one level 1 heading.
Here's what our HTML document will look like in a web browser now:
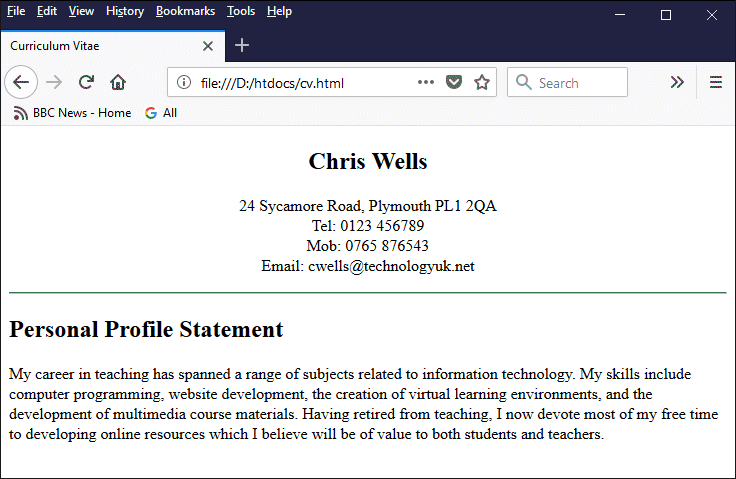
We have added a personal profile to our online CV
The next task is to add the section outlining your employment history. You should always start with details of your current employment and work backwards from there (if you currently have only limited work experience, you should probably place more emphasis on the education and training section). For each job you have done, include the name of your employer, the dates you worked for them, your job title, and a list of your main tasks (use bullet points for this).
Here is our code for the employment history section:
<hr>
<section>
<h2>Employment History</h2>
<h3>Sep 2010 – Present  Webmaster  TechnologyUK.net</h3>
<ul>
<li>Creating and maintaining web-based learning materials</li>
<li>Testing web pages across a range of user agents and hardware</li>
<li>Monitoring usage statistics and responding to feedback</li>
</ul>
<h3>Jun 1998 – Aug 2010  Lecturer  Bigglesworth College</h3>
<ul>
<li>Lesson planning, preparation and research</li>
<li>Teaching and mentoring students</li>
<li>Preparation of coursework assignment and examinations</li>
<li>Checking and assessing student achievemment</li>
</ul>
<h3>Feb 1985 – May 1998  Software Developer  Acme Software Inc.</h3>
<ul>
<li>Coding new application software</li>
<li>Updating and extending existing application software</li>
<li>Testing and debugging of application software</li>
</ul>
</section>
Here, we have used a level 3 heading (<h3>) for each job listed, together with an unordered list element (<ul>) to list the main duties associated with each job. Note the use of the HTML character entity   to add a little extra space between the dates, job title, and employer (simply adding additional space characters won't work, because the browser will ignore all but the first one). Each duty is specified as a bullet point using a list item element (<li>).
Here’s what our employment history section looks like in a web browser:
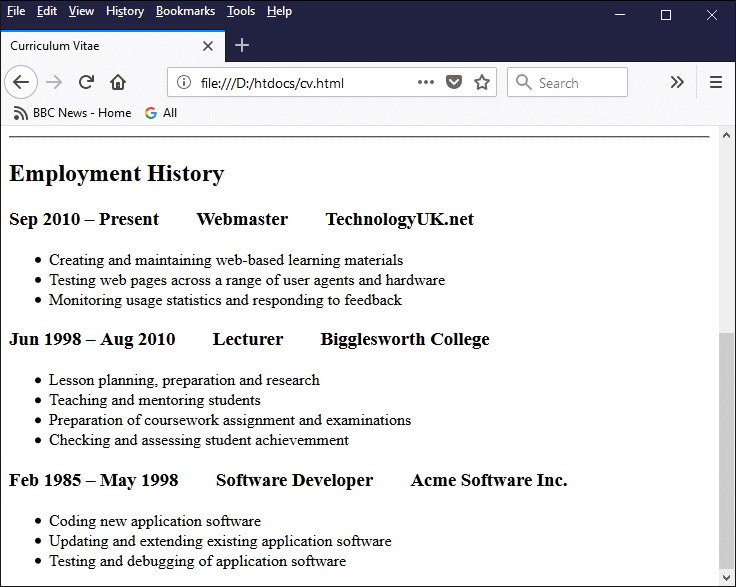
The Employment History section should look something like this
The next section we will tackle is education and training. Since the layout of the information we want to provide here follows more or less the same pattern as the previous section, we won't be introducing any new HTML elements. Here is the code we will use for this section:
<hr>
<section>
<h2>Education and Training</h2>
<h3>2001 – 2002  Certificate in Education  University of Plymouth</h3>
<h3>1994 – 1998  BSc. Computing and Informatics (Hons)  University of Plymouth</h3>
<ul>
<li>1st class degree with professional placement</li>
</ul>
<h3>1966 – 1973  Middlethorpe Grammar School</h3>
<ul>
<li>7 GCE 'O' Levels</li>
<li>3 GCE 'A' Levels</li>
</ul>
</section>
And here is what the Education and Training section looks like in a web browser:
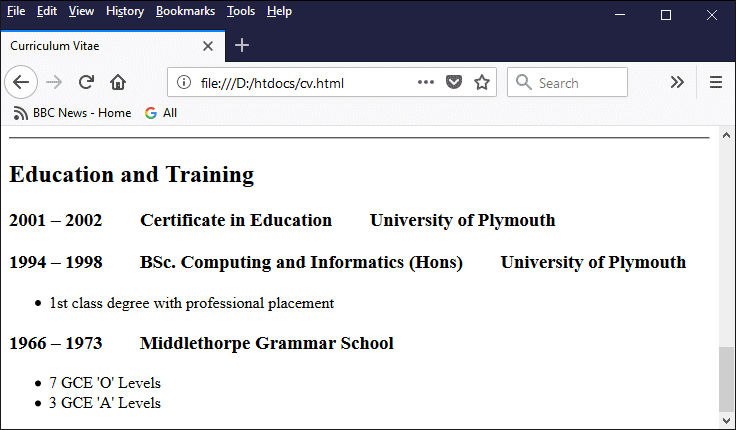
The Education and Training section should look something like this
We will leave it to the reader to complete the remaining sections (Interests and achievements, Additional information, and References) as an exercise if they wish to do so. These sections can all be coded in a similar manner to the preceding sections, using HTML elements we have already seen.
We have created a web page that is functional, if not particularly exciting, using a few basic HTML elements and the style attribute (which we used solely to centre-align the contents of our personal details section. Now we have a page to work with, we can explore various ways in which we can improve the layout and styling of the page to make it look a bit more aesthetically appealing.