Getting Started with Dev-C++

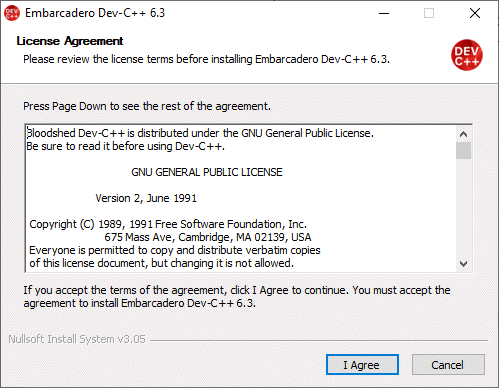
Dev-C++ is a free integrated development environment (IDE) for C and C++, and is distributed under the GNU General Public License. The IDE was written primarily for Microsoft Windows, and is compatible with Windows versions 7, 8 and 10. The original developers, Bloodshed Software, ceased active involvement in the project in 2005. The project was taken over by Orwell (Johan Mes) in 2011, who continued to develop and maintain it until 2020, Since then, development has continued under the auspices of U.S. computer software company Embarcadero Technologies.

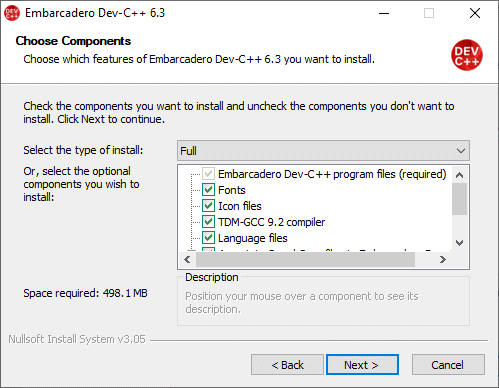
Most of the example programs included in these pages were compiled and tested using the version of Dev-C++ first developed by Orwell (Johan Mes) in 2011, but you should be able to use the existing code with newer versions of Dev-C++ to compile and run the programs successfully. The current version is 6.3, released in January 2021, which can be downloaded here.

  1. Download the Dev-C++ installation file using the link above.
  2. Double-click on the file to start the installation process.

    Starting the installation
  3. Select the language you wish to use.

    Select the language you wish to use
  4. Click on I Agree to accept the license agreement.

    Accept the license agreement
  5. Click on Next to install the default features.

    Install the default features
  6. Click on Install to accept the default installation location.

    Accept the default installation location
  7. The installation program will extract the necessary files . . .

    Extracting necessary files . . .
  8. . . . and complete the setup procedure. Click on Finish.

    . . . and completing setup procedure.
  9. Choose your language (English is selected by default) and click on Next.

    Choose a language
  10. Click on Next to accept the default theme.

    Accept the default theme
  11. The installation program will confirm that Dev-C++ has been configured successfully. Click on OK to continue.

    Confirmation of successful configuration
  12. The Dev-C++ IDE will open.

    The IDE user interface opens

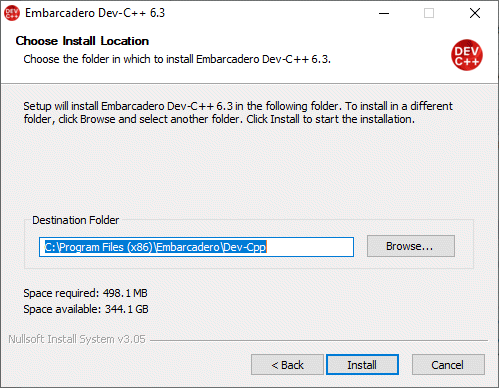
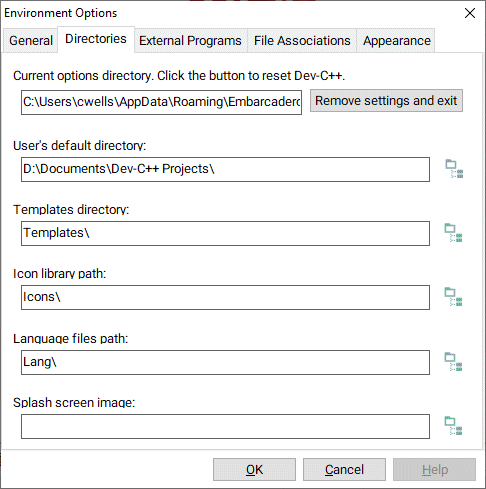
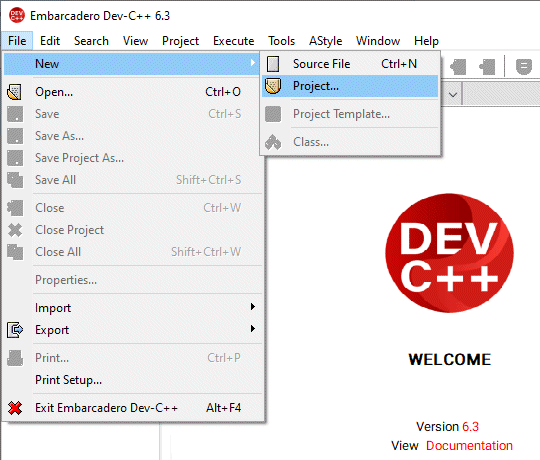
If you are runing the Dev-C++ IDE on a Windows computer, when you create a new project it will be saved in your "my Documents" folder. You may well wish to create a dedicated folder to hold your C++ projects. To do this, proceed as follows:

  1. Select Environment Options from the Tools menu.

    Select Tools, Environment Options
  2. Select the Directories tab and browse to the directory in which you wish to store your projects (note: if the directory does not exist you will need to create it before you can select it - we created the Dev-C++ Projects directory as a subdirectory of the Documents folder).

    Select the Directories tab and browse to your chosen folder

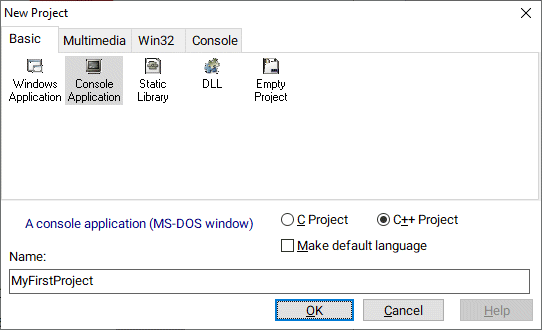
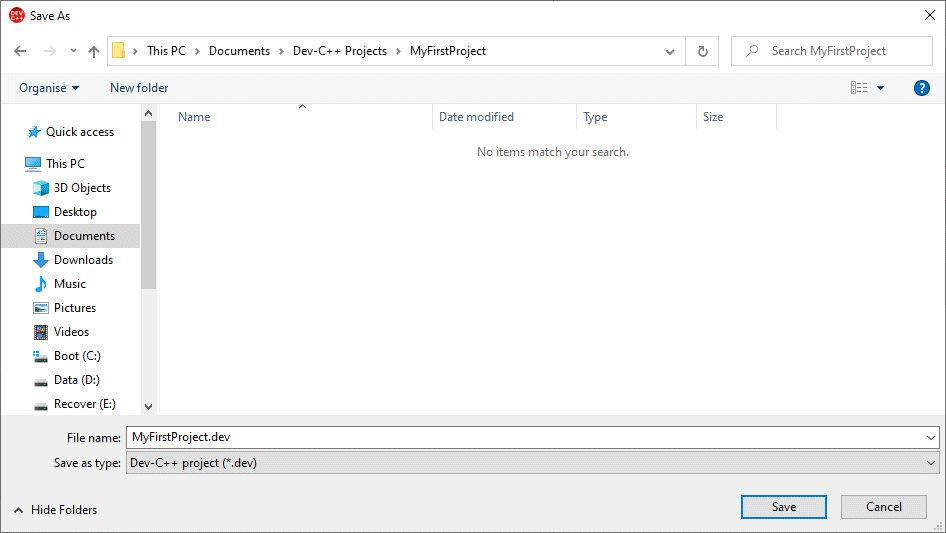
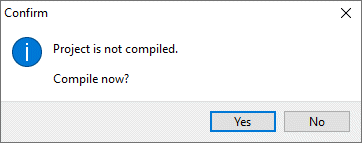
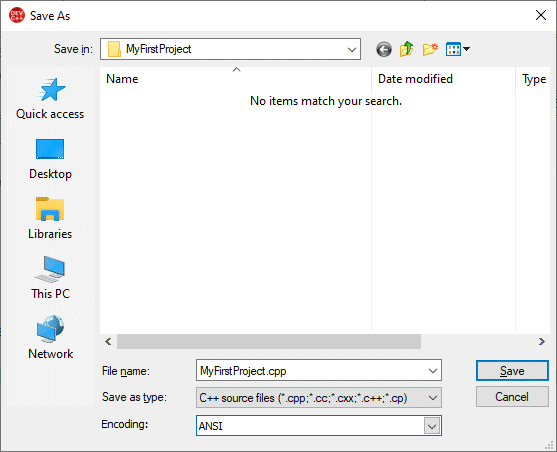
To check that everything is working, we'll create a project called MyFirstProject and write a simple "Hello World!" type program. Before we do, however, we need to create a subdirectory of our Dev-C++ Projects directory called MyFirstProject to hold our project files.

  1. Select New Project from the File menu.

    Select File, New, Project
  2. In the New Project dialog box, select the Console Application icon and make sure the C++ Project radio button is selected. Type "MyFirstProject" in the Name box, and click on OK.

    Create a new C project called MyFirstProject as a console application
  3. The project file must be saved before you can proceed (the project file name will be MyFirstProject.dev by default). In the Save As dialog box, change directory to the project subdirectory MyFirstProject, which you should have already created for this project (if you have not already created this subdirectory, you can do so on the fly by right clicking on a blank area of the Save As dialog box and selecting New Folder).

    Change directory to the project subdirectory 'MyFirstProject'
  4. You should now see something like the following screenshot.

    The project will now contain some default code
  5. Delete the default program code, then copy and paste the following code into the code editor window:

    // A first C++ program

    #include <iostream>
    using namespace std;

    int main ()
    {
      string s;

      cout << "Greetings, Maestro!";
      cout << "\n\nPress ENTER to continue.";
      getline( cin, s );
      return 0;
    }

  6. Select Run from the Execute menu (or press the F10 key)

    Select Execute, Run
  7. You will be asked if you want to compile the program. Click on Yes to compile and run the program.

    Select 'Yes' to compile and run the program
  8. You will now be asked to save the C++ source file. Make sure the "Dev-CC+ Projects> MyFirstProject" folder is selected, change the default file name (probably "main.cpp") to "MyFirstProject.cpp" and click Save.

    Save the source file
  9. You should see the following output appear in a DOS command window.

    The output from 'MyFirstProject.exe'

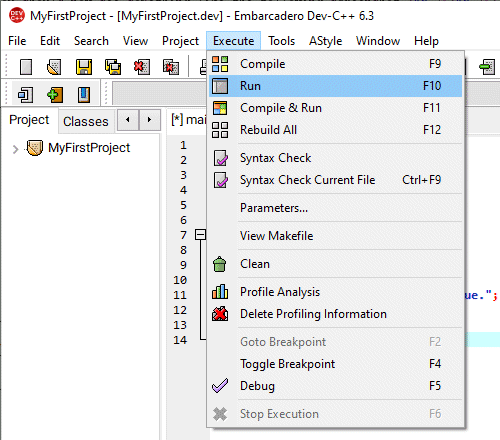
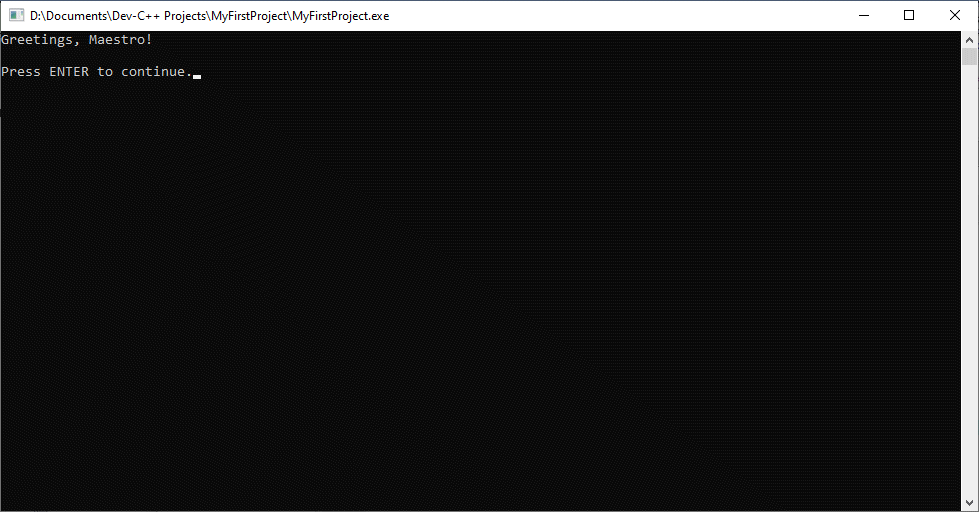
If you run the program from within the Dev-C++ IDE, pressing the ENTER key once will cause a status message to me displayed in the DOS command window. Any further keypress will close the DOS command window. If you run the executable outside of the IDE (for example, by double clicking on the executable file in the project folder using Windows Explorer), the program will terminate immediately when the ENTER key is pressed.


If you run the program from within the IDE, pressing ENTER once generates a status message.

If you run the program from within the IDE, pressing ENTER once generates a status message.


Most of the sample programs in these pages will require a single source file. From this point forward we leave it up to the reader to choose how they name and organise their projects, but we would recommend creating a new project folder for each new program as a matter of good housekeeping.