| Author: | |
| Website: | |
| Page title: | |
| URL: | |
| Published: | |
| Last revised: | |
| Accessed: |
We are now going to create a more useful Visual Basic application - an image viewer application that lets you view graphic image files on your computer. Start Visual Studio 2022, and create a new project (select Windows Forms Application, as you did for the "Hello World!" program). Name the project "ImageViewer". Once the project has been created, you should see a screen like the one shown below.
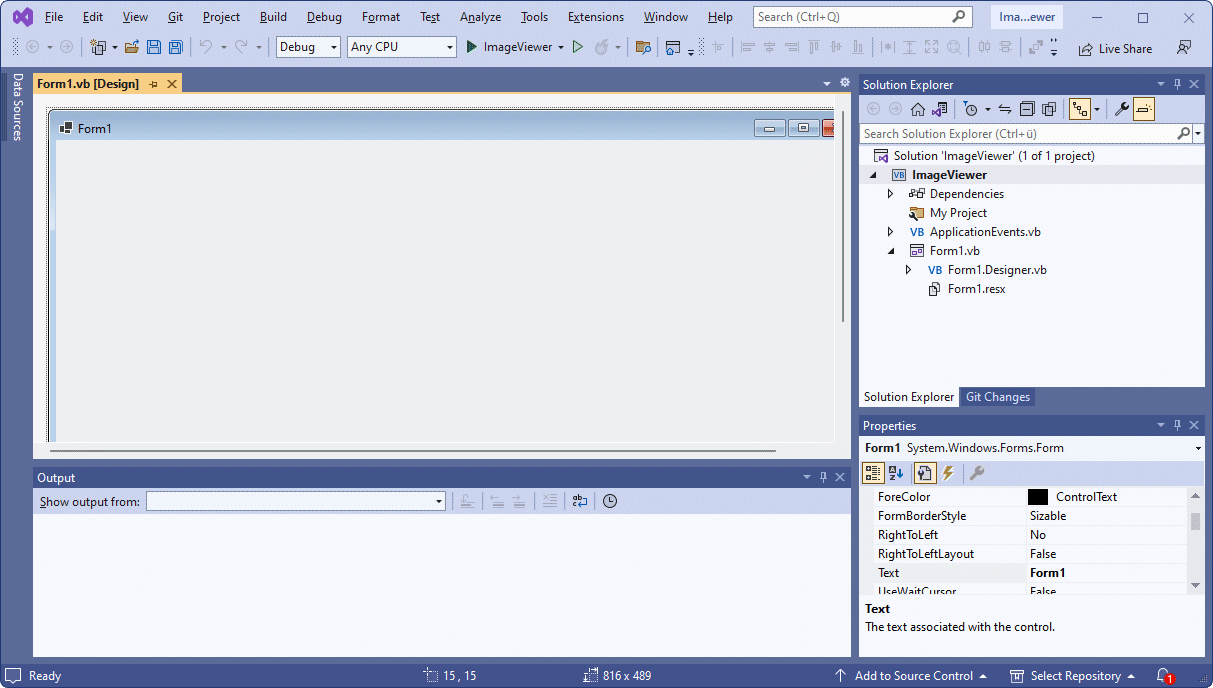
The ImageViewer project
Note that, by default, the project's Startup Object property will be set to ImageViewer.Form1. In previous versions of Visual Studio, changing the name of Form1.vb would automatically update the Startup Object property, but this no longer seems to be the case. The above step is therefore very important, otherwise the application will not compile correctly.
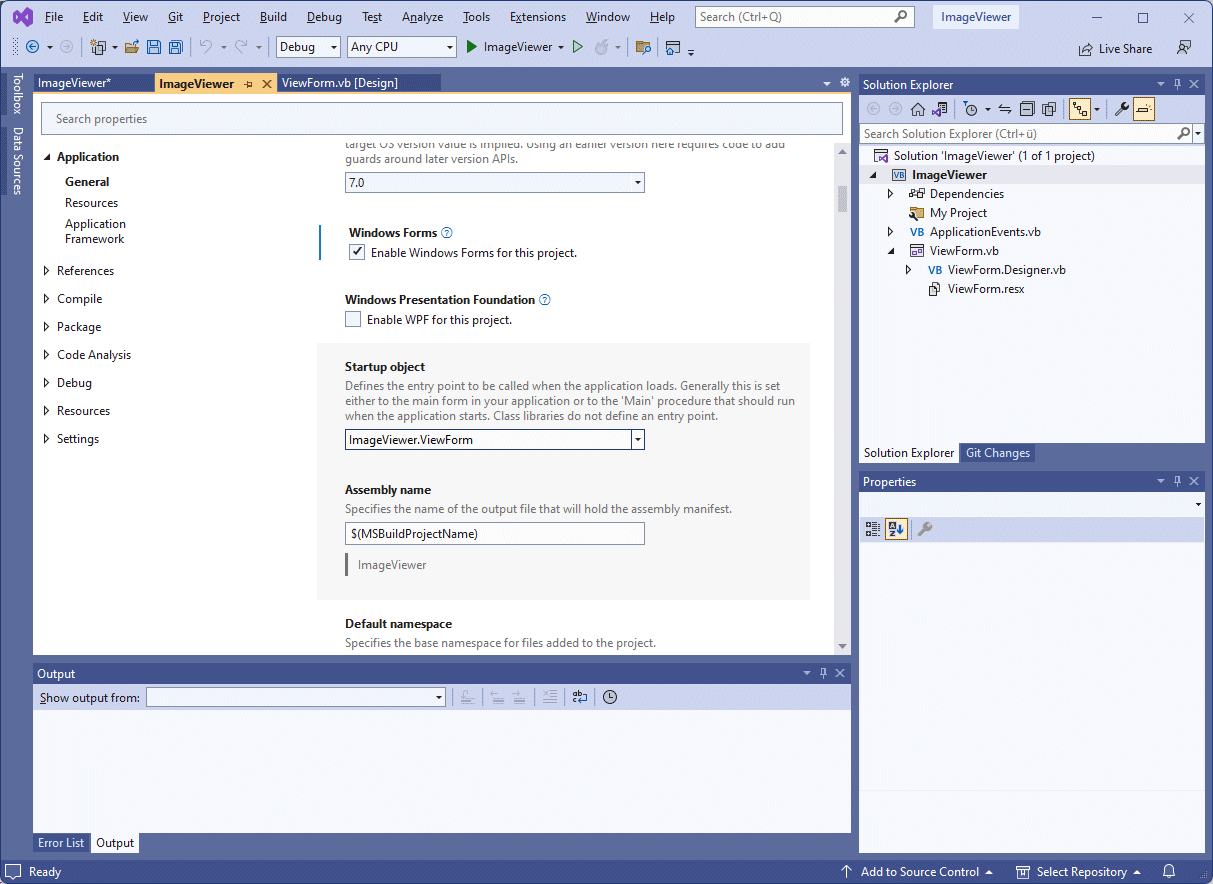
The ImageViewer project's Properties window is displayed
Visual Basic will create the necessary folders for your project, using the name you gave the project as you created it, and save the project files to the default location (to change the default location for your project folders, select Options > Projects and Solutions > Locations from the Tools menu).
By default, Visual Basic will create a solution directory in which the project directory will reside. Both the solution directory and the project directory will have the same name, i.e. the name you chose for your project (in this case, "ImageViewer").
It might be a good idea at this point to make a note of the location of the directory to which your project will be saved (right-click on MyProject > Open Folder in File Explorer in the Solution Explorer window to open the directory and see your project files).
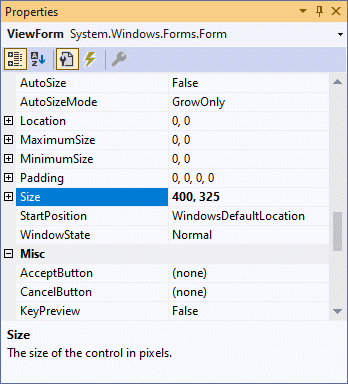
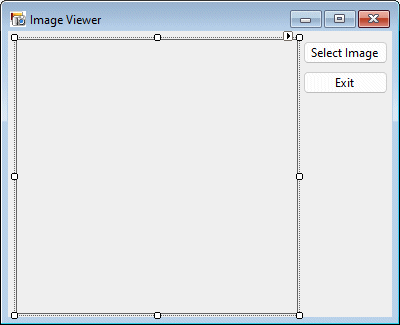
Our application form is now exactly how we want it, and we can create the user interface by adding some controls to it. At some point, we will need to write some program code to make things happen when we use the application, but for now we will concentrate on creating the user interface.
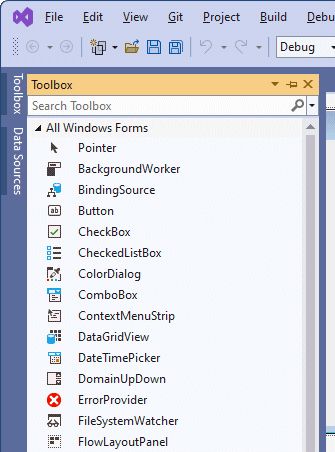
| Property | Value |
|---|---|
| Name | btnSelectImage |
| Location | 295, 10 |
| Size | 85,23 |
| Text | Select Image |
| Property | Value |
|---|---|
| Name | btnExit |
| Location | 295, 40 |
| Text | Exit |
| Property | Value |
|---|---|
| Name | picShowImage |
| BorderStyle | FixedSingle |
| Location | 8, 8 |
| Size | 282, 275 |
The form should now look like the one shown below.
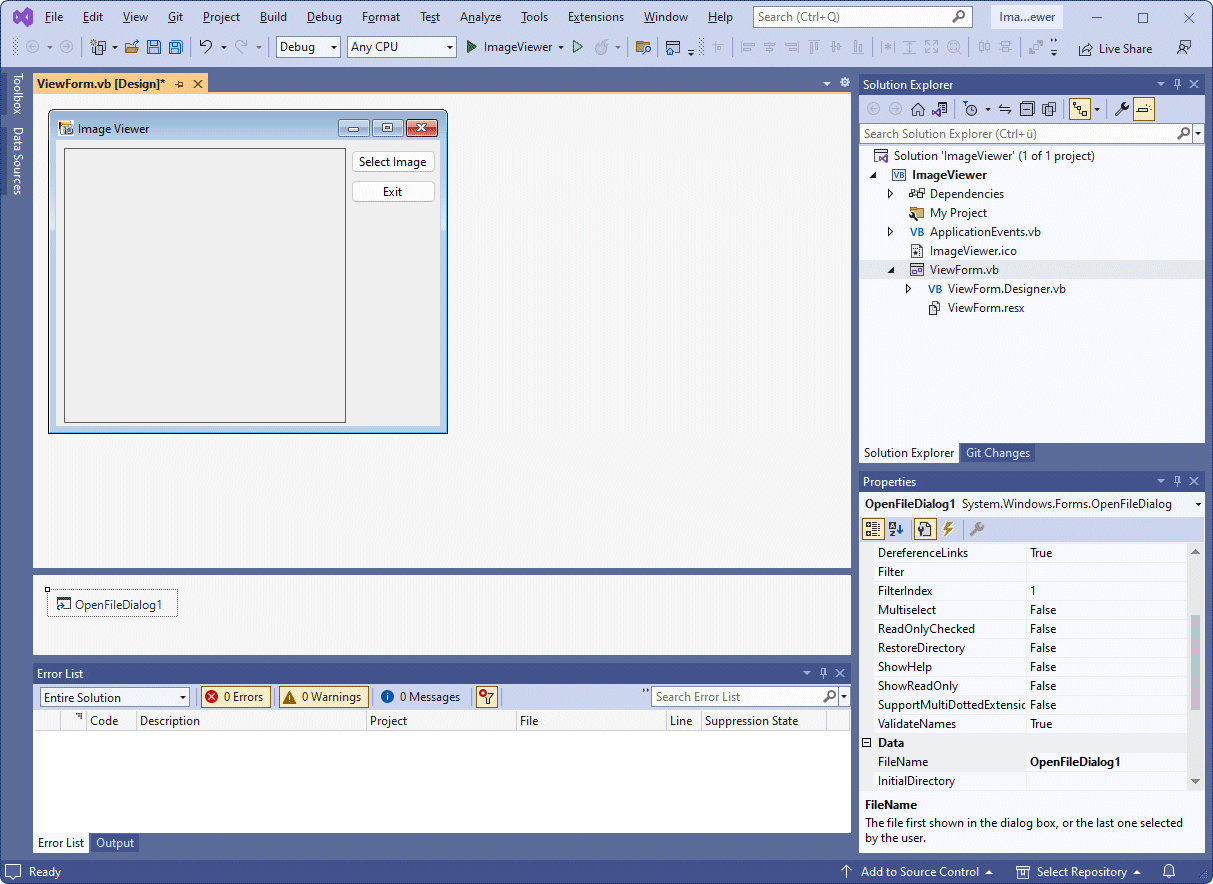
| Property | Value |
|---|---|
| Name | ofdSelectImage |
| FileName | (this should be blank) |
| Filter | Windows Bitmaps|*.BMP|JPEG Files|*.JPG |
| Title | Select Image |
The filter property determines the type of files that will be displayed in the Open File dialogue box when the application runs. The text in front of the pipe symbol ("|") is the descriptive name given to the file type, while the text that follows it is the pattern used to filter files. A pipe symbol is also used to separate filters.
Some program code is now needed to make the program actually do something when a user interacts with it. Program code is executed in response to some event, such as the program being started, or a user clicking on a button. We will need to add some code that allows the user to browse their hard drive for an image file and display it, and we will also need some code to close the program when the user clicks on the Exit button.

If ofdSelectImage.ShowDialog = DialogResult.OK Then
picShowImage.Image = Image.FromFile (ofdSelectImage.filename)
Me.Text = "Picture Viewer (" & ofdSelectImage.FileName & ") "
End If
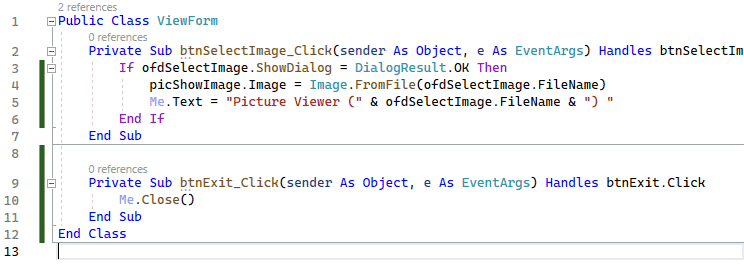
Your code should now look like the illustration below.

The first line of code you entered triggers the ShowDialog() method of the OpenFileDialog control that tells it to show the Open dialogue box that allows the user to browse their computer's hard drive for an image file. The method returns a value that indicates success or failure, which is then compared to a predefined result (DialogResult.OK).
If the user selects a file, the code between the If ... End If statements is executed (note that Visual Basic will automatically add the End If, as well as capitalising your code to match control names if necessary, and taking care of indentation).
The second line of code you entered actually displays the image stored in the selected file in the picture box, while the third line of code displays the path and filename of the image in the application's title bar. Now we just need some code to make the Exit button work.
Me.Close()
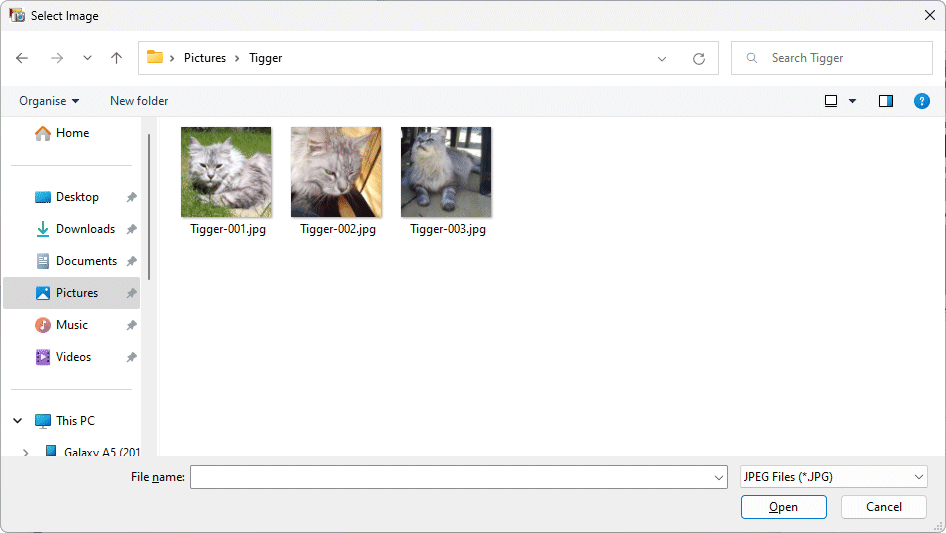
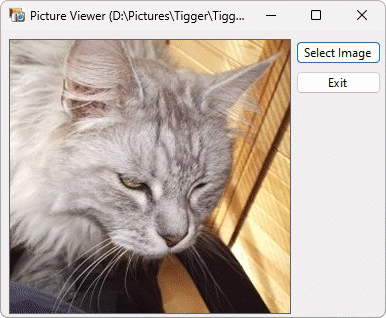
Of course, if the image is very small, it will not fill the display area. If it is very large, only the top left-hand portion of the image will be visible. We deliberately chose pictures here that would fit into the space provided. We could refine the program in due course to allow images to be scaled to fit the display area.
It is also a relatively easy matter to modify the application to display images in other file formats (the PictureBox control can also display image files with the extensions .ico, .emf, .wmf and .gif). You can amend the Filter property of the OpenFileDialog control to include any of these file types if required.