| Author: | |
| Website: | |
| Page title: | |
| URL: | |
| Published: | |
| Last revised: | |
| Accessed: |
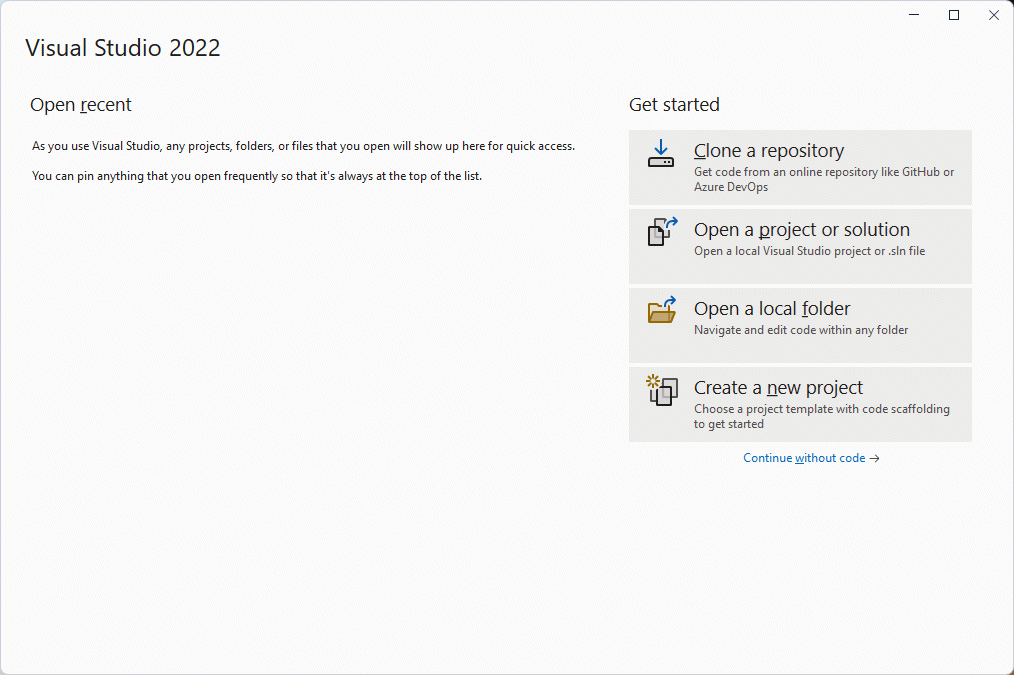
We are now going to run Visual Studio Community 2022 for the first time and write a "Hello World" program, in keeping with programming tradition! When you start the IDE for the first time, the Visual Studio 2022 Start Page will now appear. From here, you can create a new project or open an existing project.
Note: The Visual Studio integrated development environment is highly customisable. You can change the layout and appearance of the IDE to suit your personal requirements. The screenshots used in these pages were acquired using the default environment settings and color scheme, on a desktop computer running Windows 11.
Create a new project now by clicking on the Create a new project box. This brings up the Create a new project windows, as shown below, which allows you to choose the type of project you want to create. Note that in future, you can create a new project either by clicking on the "Create a new project" box on the Visual Studio Start Page, or by selecting New > Project... from the File menu.
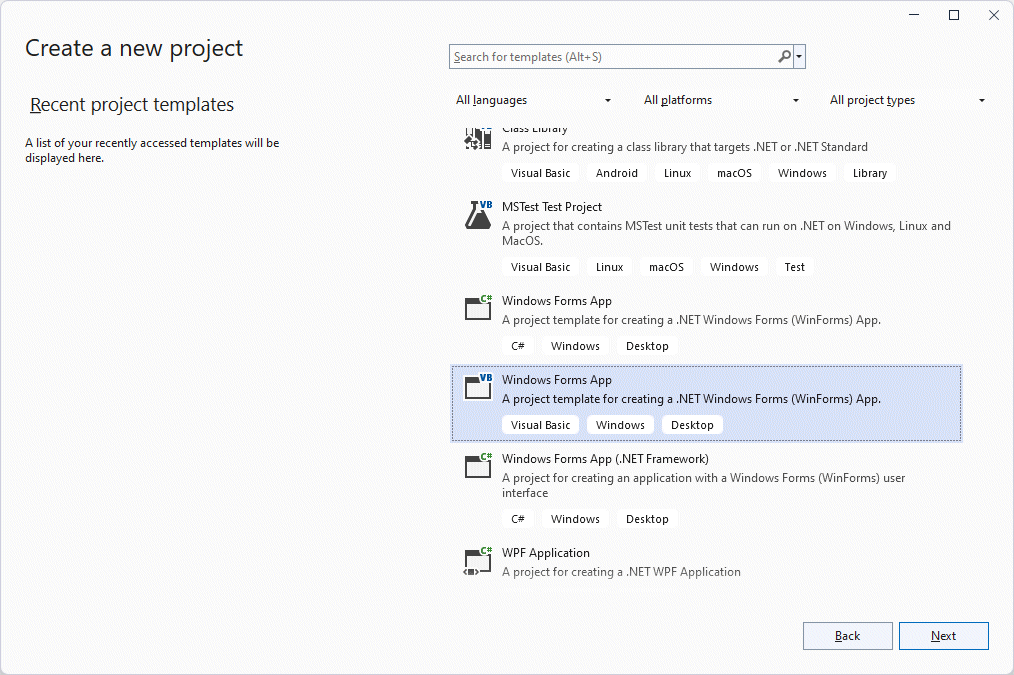
Scroll down through the options (there are quite a few!) and select Windows Forms App. Make sure you select the Visual Basic version - see the illustration above - and click on the Next button. You should now see the "Configure your new project" dialog box.
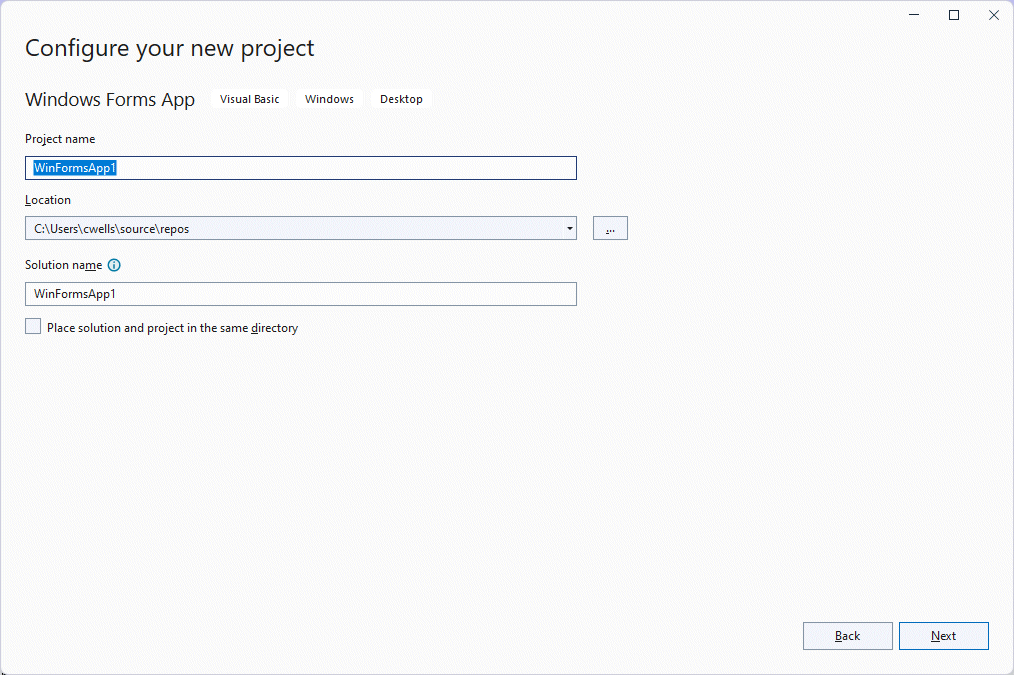
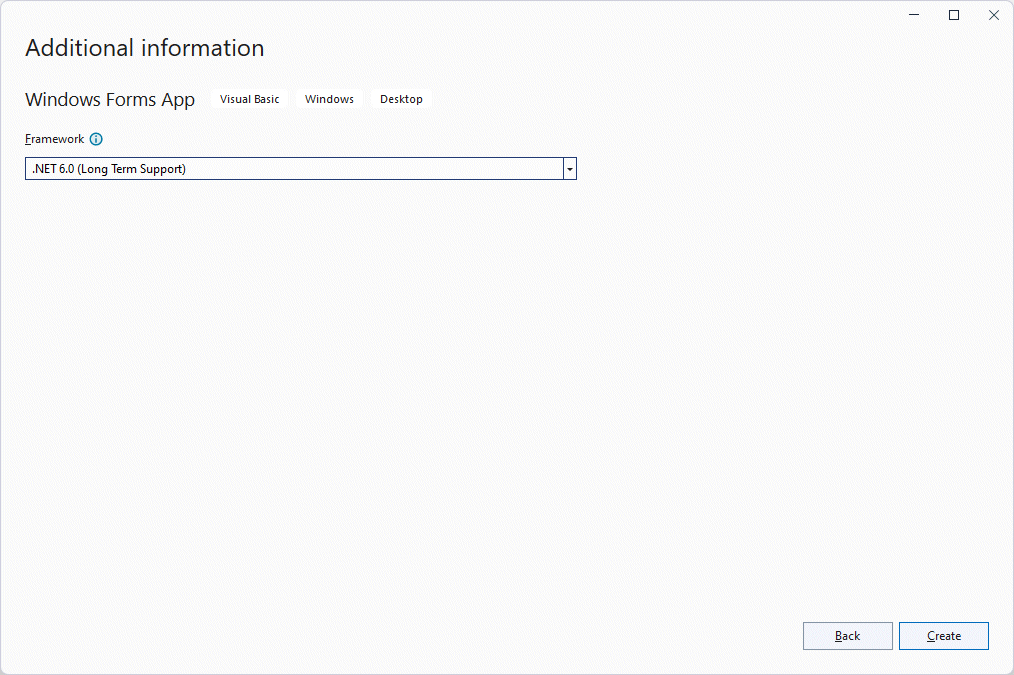
For now, accept the default project name WindowsApp1. You may now see the following "Additional Information" screen, which allows you to choose between long term and standard term support. For now, just click on the Create button.
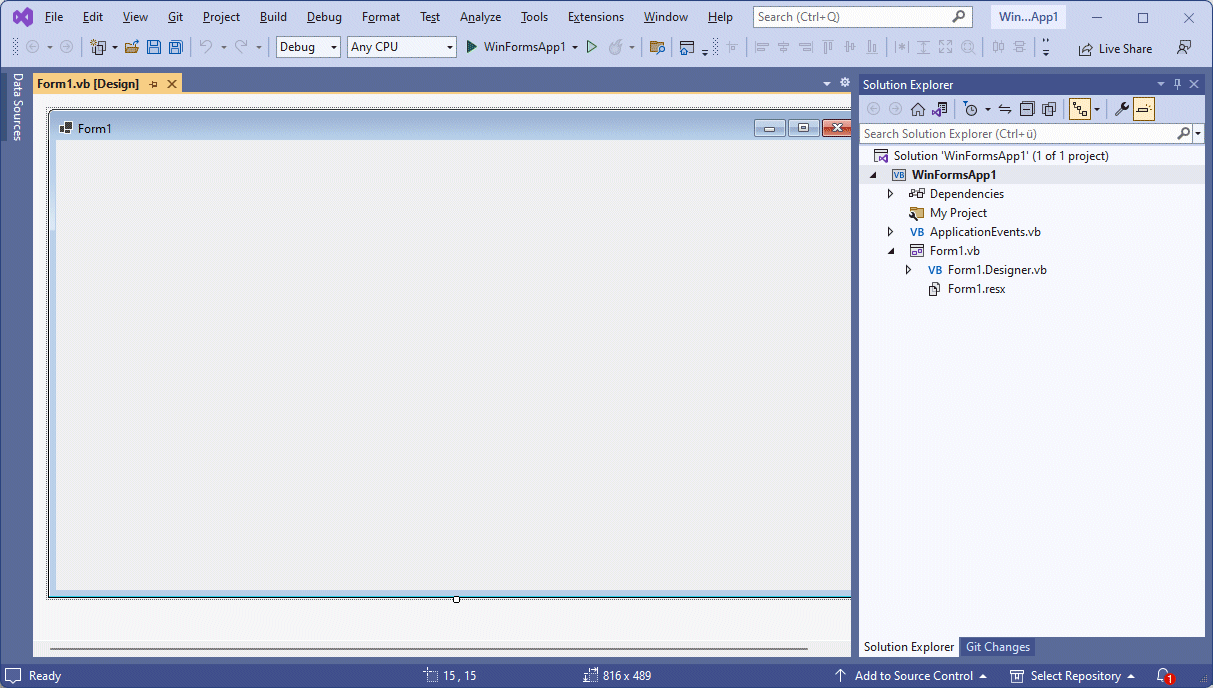
Once the project has been created, you will see a screen like the one illustrated below. The form design window takes up most of the screen, and contains a single form labelled Form1. On the right of the screen you will see the Solution Explorer window.
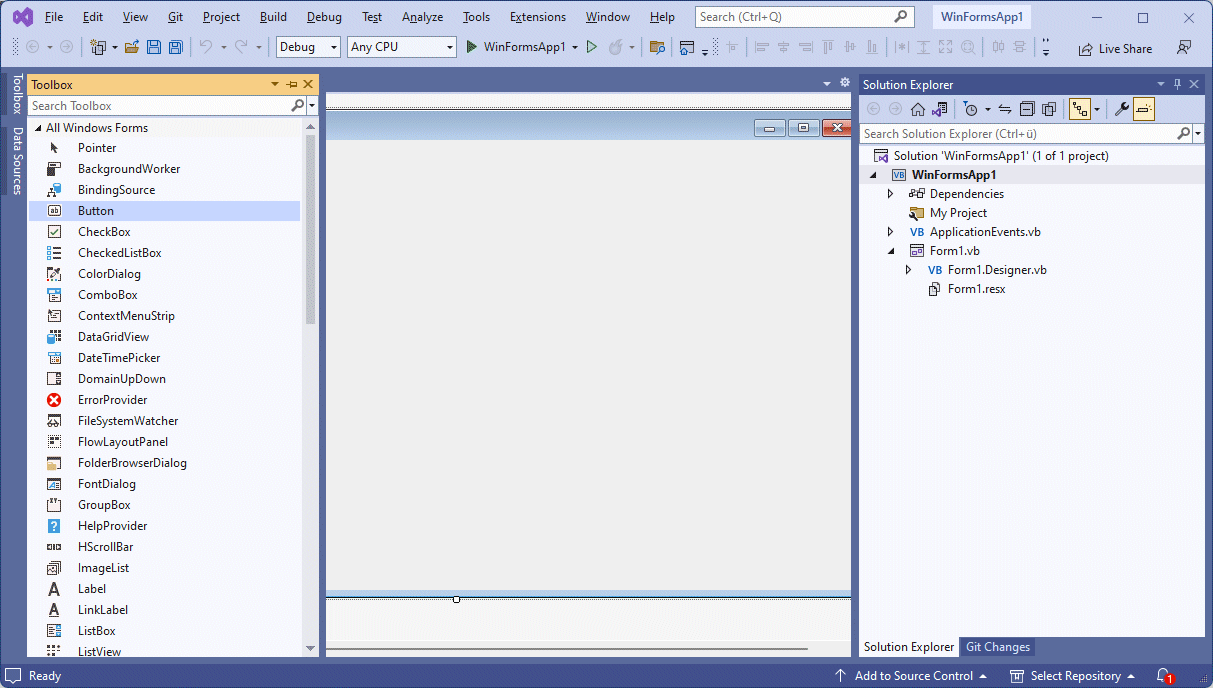
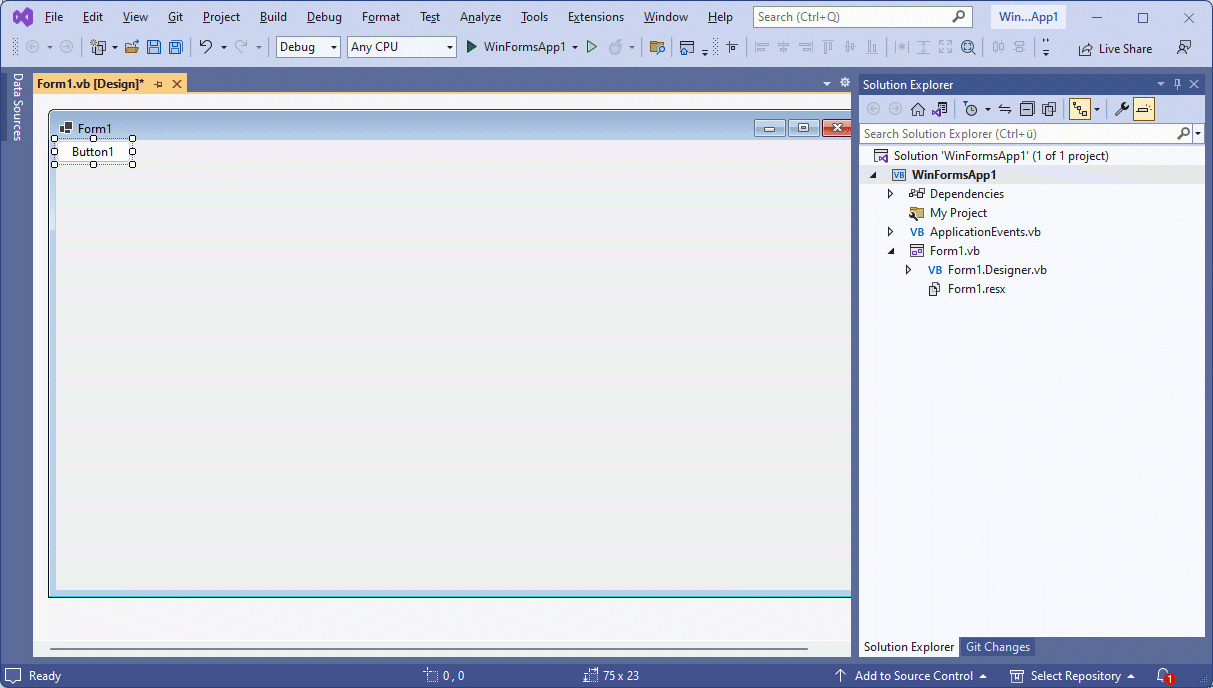
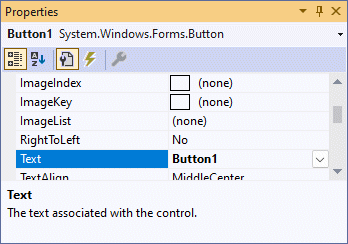
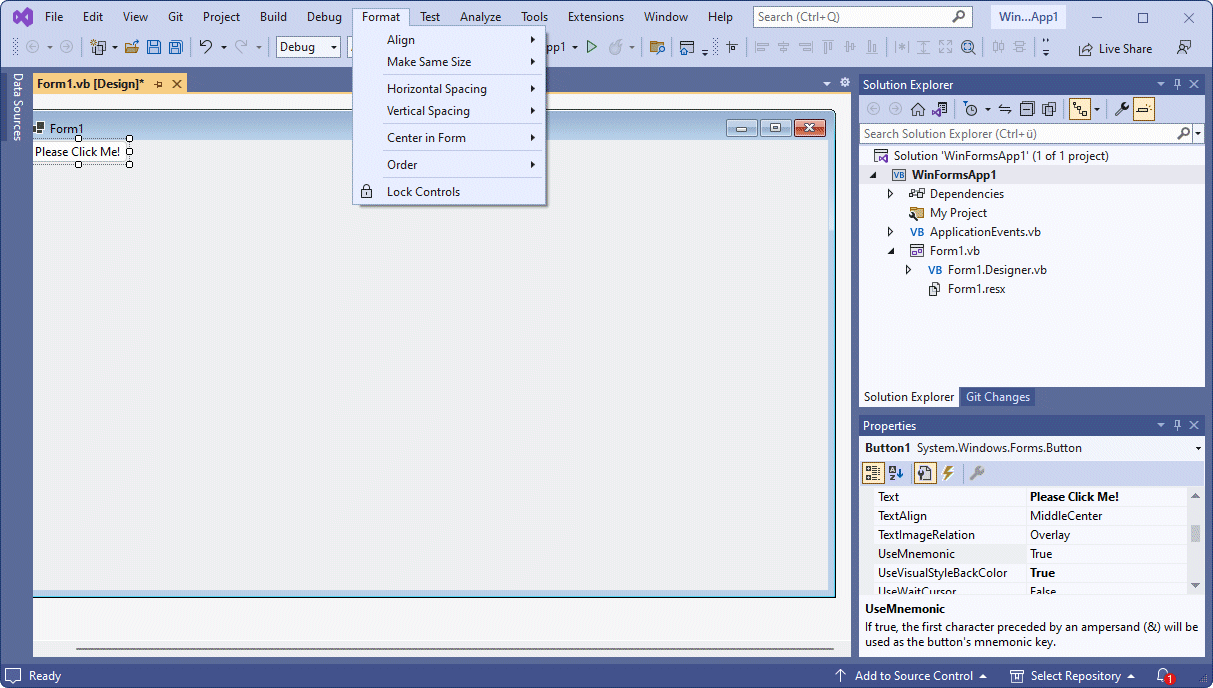
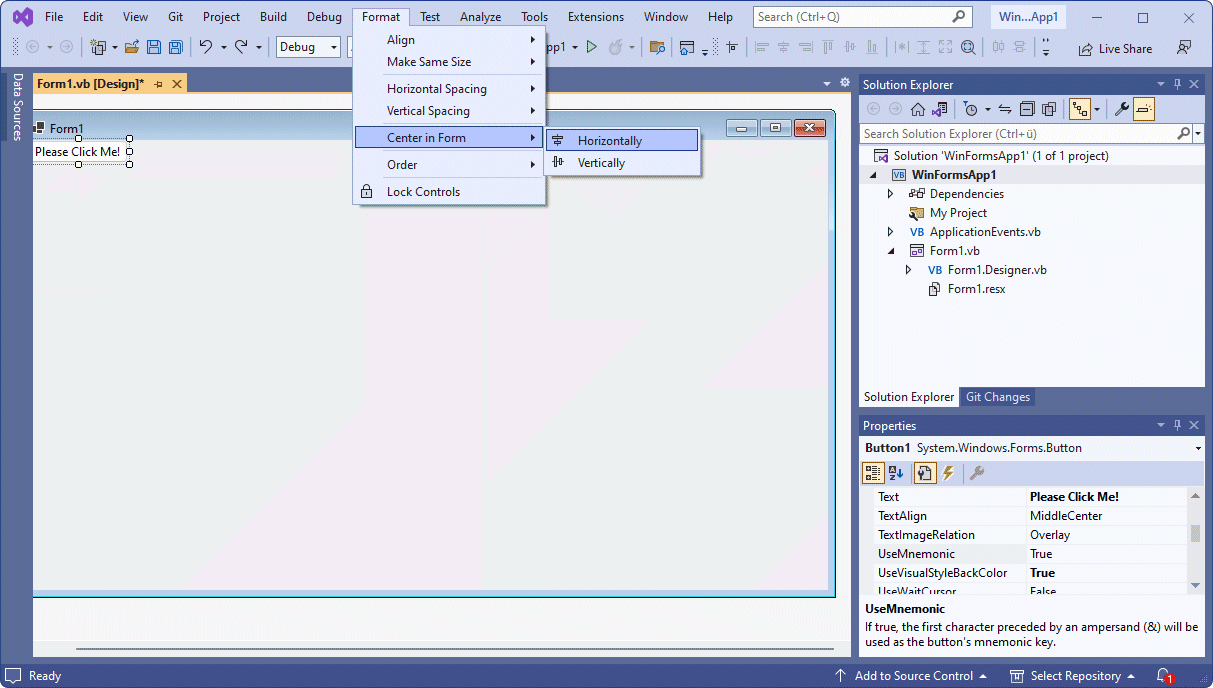
A Visual Basic project is a collection of files related to a single program. The project will produce some compiled output (e.g. an executable program or class library), and will include files containing source code and documentation. To create our simple "Hello World!" program, we will be placing a single control on the form and adding some program code to it. We will also change some of the form's properties to make the application look a bit more professional.
Follow the steps below to complete the application.

MsgBox ("Hello World!", , "Hello World!")
The code you entered is a program instruction that creates a message box when Button1 is clicked. It displays the message "Hello World!" (the first parameter passed to MsgBox). The message box also displays the label "Hello World!" (the third parameter passed to MsgBox) at the top of the message box, signifying that it belongs to the "Hello World!" application. Note that, although the second MsgBox parameter is not used, two commas separated by a space are required to act as a placeholder.
To run the program, click on the Start button (the small green right-facing arrow on the toolbar), or select Start Debugging from the Debug menu, or press the F5 key. Now click on the Please Click Me! button. If you have done everything correctly, you should see something like this:
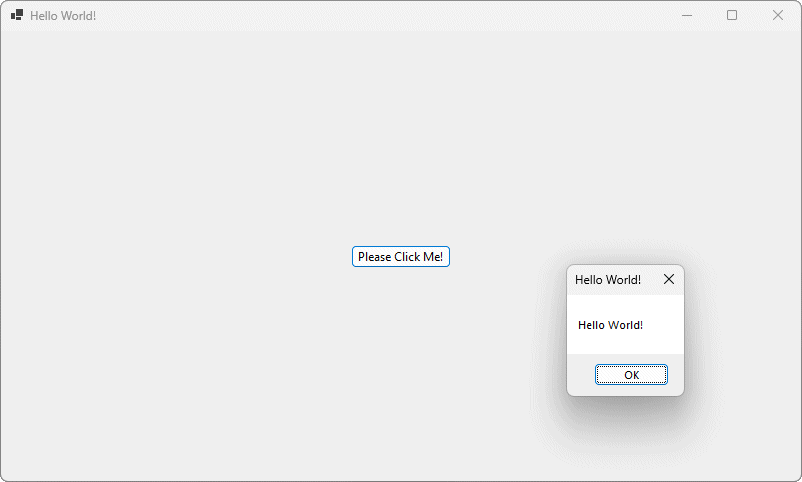
You have successfully created a working Visual Basic application! Perhaps more importantly, you now know how to create a project, add a control to a form, modify the properties of controls and forms, format a control, and add some program code to a control. You will soon be using the skills you have learned here to create more complex applications.