| Author: | |
| Website: | |
| Page title: | |
| URL: | |
| Published: | |
| Last revised: | |
| Accessed: |
XAMPP stands for Cross-platform, Apache, MariaDB/MySQL, PHP, and Perl. Using XAMPP, it is possible to run a basic web server based on the Apache web server, the MariaDB (or MySQL) relational database management system (RDBMS), and server-side scripting languages PHP and Perl. All of the software components are designed to be installed on, and run from, any physical storage medium, including a computer hard disk drive or a portable storage medium such as a USB flash drive.
There is no installation procedure - all you need to do is download the software to a suitable location (note, however, that a Windows version with an installer is available). XAMPP is available free of charge for non commercial use, and is released under the GNU/GPL license by the Apache Friends project. You can download the appropriate version of XAMPP for various operating systems, including Windows, Linux, and Mac OS X, from the Apache Friends website. If you are running Windows, try the link below and download the latest version offered (8.2.12 at the time of writing):
The exact procedure for installing XAMPP on your hard drive or on a portable storage device such as a USB flash drive will vary, depending on your operating system and hardware. If you are running Windows, we recommend downloading and extracting XAMPP as a zipped archive, rather than downloading the Windows installer. That way, you can unzip the xampp folder to a hard drive or a removable storage device.
XAMPP should work straight away, without having to make any changes to the way windows is configured. No changes will be made to your Windows registry, provided you don't use the Windows installer. If you subsequently want to uninstall XAMPP, you can simply delete the xampp folder.
For the purposes of these pages, we are going to install XAMPP directly on the C: drive of a local computer. All subsequent instructions and code examples will reflect this. If you decide to install XAMPP in an alternative location, you should amend the instructions and code example provided accordingly.
Download the zipped folder (in our case this is xampp-windows-x64-8.2.12-0-VS16.zip) and unzip it to obtain the unzipped folder (in our case this is a folder called xampp-windows-x64-8.2.12-0-VS16). This folder contains the xampp folder. Copy and paste this folder into the C: drive on your computer (or whatever alternative location you decide to use).
Within the xampp folder itself, there are three application files - xampp_start.exe, xampp_stop.exe and xampp-control.exe. To make life a little easier, we suggest creating shortcuts on your desktop to these three applications.
You start the server using the console application xampp_start.exe. Note that when you attempt to start the server for the first time from a new location, the Windows firewall will probably block access to both the Apache and MySQL server software. If any dialog boxes appear to inform you that this is the case, just click on the "Allow access" button in each dialog box. You should then see the following console window:
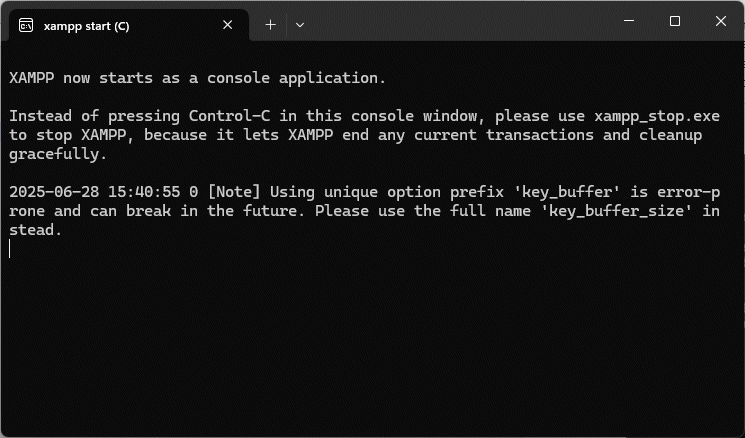
XAMPP starts as a console application
Note that you may encounter the following warning message each time you start XAMPP:
"2025-06-28 15:33:38 0 [Note] Using unique option prefix 'key_buffer' is error-prone and can break in the future. Please use the full name 'key_buffer_size' instead."
This should not cause any problems, but it could get annoying, so we'll fix it in due course. Meanwhile, you may be wondering whether anything has actually happened, because apart from the appearance of the command line window illustrated above, nothing appears to have changed.
To actually see some concrete results from your hard work, you need to open a web browser and enter "localhost" (minus the quotation marks) in the browser's address bar. You should see something like the illustration below, depending on which web browser you are using. The illustration shows the XAMPP welcome screen. If you can see it, PHP is working correctly.
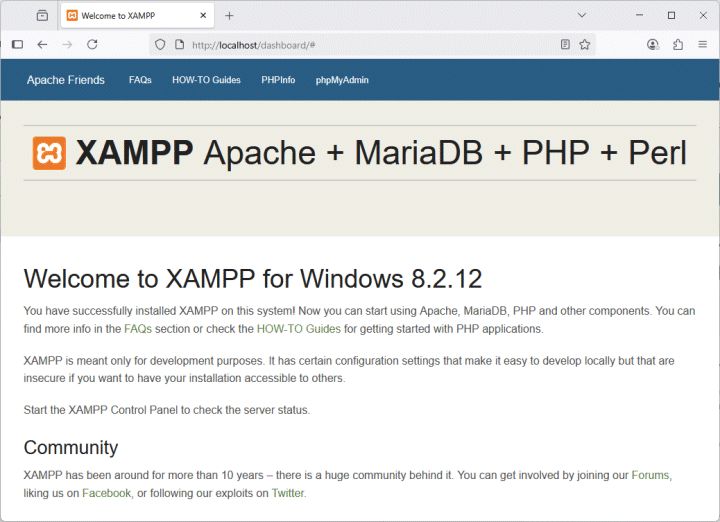
The XAMPP welcome screen
The server can be configured using the Windows program xampp_control.exe:
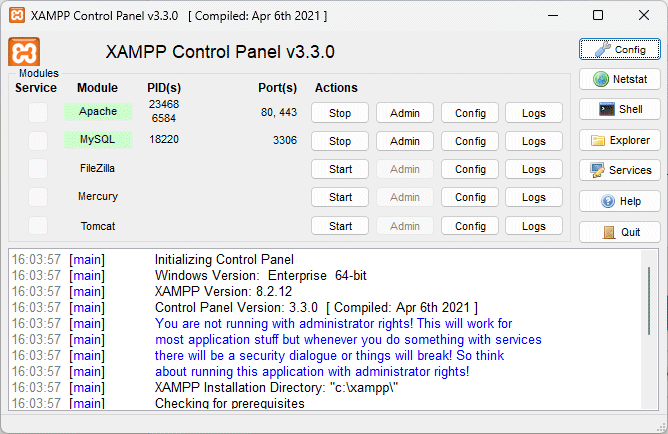
The XAMPP control panel
You should see that by default, Apache and MySQL are both running. As you can see, these features, together with the Filezilla FTP server, the Mercury mail server, and the Tomcat Java servlet container, can be started, stopped, or configured using the XAMPP control panel. You can also access the log files for each of these services through the control panel, in the event that something goes wrong (or you just want to monitor server activity).
At the moment, the root directory for the Apache web server is set to C:/xampp/htdocs/ by default. When we type localhost into a browser's address bar, the default document in that directory - index.php - is loaded into the browser window. Well actually, it isn't. What really happens is that the HTML, CSS and JavaScript code dynamically generated by the index.php file is loaded into the browser window.
Precisely how that works needn't concern us at the moment. We could of course write our own version of index.php to replace the existing version, and make it do whatever we want. Even so, we would still be using the localhost URL to access our default document. And maybe we should leave the default server documents alone - just in case we want to refer back to them for some reason in the future.
It would be nice if we could create a separate root directory to hold the PHP documents (and other files) that we will be using to explore the PHP server-side scripting language. It would be even nicer if we could create our own local domain name through which to access those documents, rather than using "localhost". As it happens, this is not as difficult as it might sound.
The first thing we need to do is to create the new root directory and give it a meaningful name. We're going to create a directory on the C: drive called vhosts (for virtual hosts) and a subfolder within that directory called myserver (to hold the documents for our myserver domain). You can choose any names you like for these directories (within reason), but they should be meaningful, and not too convoluted. Essentially, vhosts will become the root directory for our web server, and myserver will become the root directory for the myserver domain.
Now we will make the necessary changes to the Apache configuration files:
<VirtualHost *:80>
DocumentRoot "c:/vhosts/myserver/"
ServerName myserver
<Directory "c:/vhosts/myserver">
AllowOverride All
Require all Granted
</Directory>
</VirtualHost>
<Directory "c:/vhosts/myserver/">
Options Indexes FollowSymLinks MultiViews
AllowOverride all
Order Deny,Allow
Allow from all
Require all granted
</Directory>
We now have to tell Windows about this new host. Windows includes a plain text file called hosts (no file extension) that effectively maps domain names to IP addresses and acts as a local DNS resolver. Carry out the following steps to make the necessary additions to the hosts file:
127.0.0.1 myserver
::1 myserver
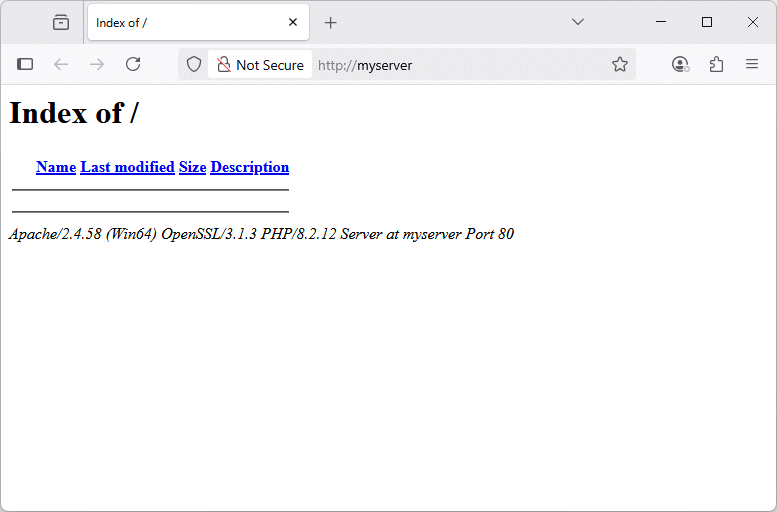
The myserver domain is live but has no content
<!DOCTYPE html>
<html lang="en">
<head>
<meta charset=utf-8 />
<title>
The MyServer Home Page
</title>
</head>
<body>
<h1>The MyServer Home Page</h1>
<p>Welcome to the MyServer home page.</p>
</body>
</html>
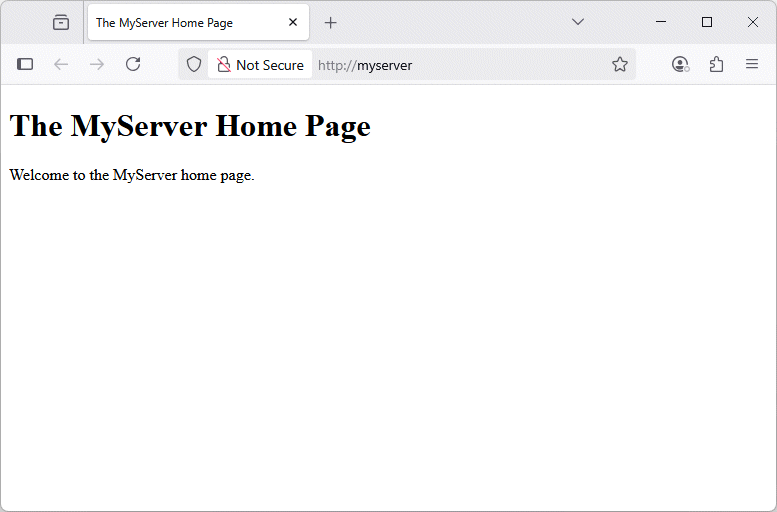
Our server now has a default document
We can fix the warning message that shows up every time we open XAMPP as follows:
That’s it! In future, when you start XAMPP, the warning message should not appear.
XAMPP is an excellent tool for learning about how web server software functions, and for developing prototype web applications before they are deployed on a "live" server. The practical examples of web server scripting described in these pages will rely heavily on the use of the XAMPP server environment, and we will be adding the PHP pages we create to the myserver website.